Showing posts with label ten-minute hack. Show all posts

Monday, December 2, 2013

Ten-minute hack: Bringing sanity to your spare wires

Over the years, I've accumulated a lot of spare wire of various forms and flavors. And over the years, I've tried a couple of ways of managing this mess of wire, including a big "Strand Century" lightbox I scrounged in college and a shelf where things were haphazardly tossed. But after an organization-catastrophe-induced creative spit-balling session with my significant other on the issue, I think I have the solution to beat all solutions.
HANG ALL THE CABLES!

Preparation

This is a two-ingredient hack.
  1. Wire shelving. You probably have some somewhere in the place you store your wire.
  2. Lots and lots of self-gripping cable ties (1 per wire). These are easily the most oft-used hacking tool in my toolbelt; when you need some stuff fastened right now, they're the go-to gadget. Cheap, too.

Ten-minute hack

For each wire:


  1. Loop the end of the wire with the self-gripping cable tie.
  2. Coil the wire and tie it off with the rest of the tie, leaving a few inches of "tail" unstuck.
  3. Press the cable tie into the wire shelving from below, loop the loose end of the cable tie over one of the shelving wires, and stick it back down to the rest of the velcro.

Final thoughts

The result is straightforward and easy to work with.
All my wires, just hangin' out.

Pros

  1. The wires pop back off the shelf with a little bit of side-pressure; press so the shelving wire separates the end of the cable tie, and off it goes.
  2. With the wires hung in this way, it's much easier to see which is which than with a flat storage solution.

Cons

The only one I can think of is that some cables will of course exceed the weight limit of the velcro (if you have any that exceed the weight limit of your shelving wires, I'd like to know what you're up to!).


Sunday, March 31, 2013

Ten-minute hack: Keep the snow off your windshield (just in time for spring!)

The most irritating thing about the morning weekday ritual in these northern lattitudes is scraping the show off my windshield. I'm already cold and cranky; having to do some manual labor to get the car ready to go is just icing on an anger-cake.

While I was watching TV with the family one night, a commercial came on for a windshield frost guard. I had to laugh a bit, as I said to myself "That's basically just a sheet you put over your windshield."

I decided to test that theory.

Preparation

Jersey-knit sheet. Red. Queen-size. It was on the top of the "Sheets we don't really want to put on the bed anymore" pile.

Ten-minute hack

I opened the car door and laid the sheet's short end across the top of the door frame, then shut the door.

Sheet is closed in along the top frame of the door.

Then, I stretched the sheet across, and did the same on the other side.

Sheet stretched fully across the windshield.
Add caption

It turns out my timing couldn't have been better, because we got a couple of inches that night.

Car is covered in snow. Neither sheet nor windshield are visible.
March 25... GROUNDHOG YOU ARE ON NOTICE.
However, I just peeled the sheet back and...

Car is still mostly snow-covered, but the sheet has been removed and the windshield is completely clear.
... all set!
I shook out the sheet, threw it in my trunk, dusted off the other windows and the flat surfaces, and drove away.

Final Thoughts

Overall, I'd call it a successful experiment.

Pros

  1. It was free (amortized against the cost of a sheet destined for the rag-pile).
  2. It worked great.
  3. If the sheet ever gets too grimy, it's machine-washable.

Cons

I still don't think I'd buy a dedicated windshield cover for this job, but here are some issues I can predict happening.
  1. Jersey knit wicks water. This could be an issue if you get a rain-then-freeze weather pattern; you may end up with sheet stuck to your windshield. A waterproof material would be preferable.
  2. Since the ends of the sheet are extending into the car, they could get a little grimy and carry that grime into your car (or wick water in), which could be a problem depending on your tolerance for that sort of thing. The ones that are sold for this purpose have some stiffness to them and bungee nylon that wrap around the rear-view mirrors; if I felt like doing more than a ten-minute hack, I could probably fabricate something equivalent with bent-out coat hangers and some rope.
  3. Even after shaking the solid snow out of the sheet, the wicking action had pulled a lot of water in, and I ended up with a soggy sheet in my trunk. My trunk doesn't care about wet stuff, but if yours does, you'll want a plastic bucket to keep the sheet in.
With luck, we shouldn't have any more snow this year (HAH!). But if we do, I'm ready.

Thursday, December 20, 2012

Ten-minute Hack: Temporary Remote View

This one may not even require a whole ten minutes. I considered refraining from posting about it, but I've found it so useful in so many circumstances that I felt the need to share it.

While doing home automation work, I frequently find myself needing to control a process from one floor while observing it on another floor, or needing to observe events on multiple floors at once. For instance, I have a command that switches off all the lights in the house; I need to observe the basement and first floor simultaneously to verify it's worked. That's quite a bit of dashing up and down the stairs.

If you have two computers with embedded cameras (smartphone and desktop PC, laptop and tablet, smartphone and tablet), it's ridiculously simple these days to set up a simple video chat to remotely observe another room in the house. My tool of choice is Google+ Hangouts, but other applications with clients on all of your computers of choice would work just as well.

To set this up in Hangouts, all you need to do is start a hangout with nobody (I have an empty circle named "Nobody" for this purpose). Once the hangout is established on your first device, use the Google+ client on your second device and select your profile. You will see an entry for "hangout with 1 person." Join that hangout, and your two devices will be video-linked (you can add more if you so choose).

It's a pretty straightforward trick, but it's convenient if you have spare devices sitting around the home. In addition to using it to monitor home automation clients on different floors, I've used it to monitor a kitchen timer while I worked in a room too far from the kitchen to hear it (world's most expensive baby monitor, but I have a laptop and smartphone and no baby, so there you go!).

I hope you find this useful! Happy holidays.

Sunday, October 21, 2012

Ten-minute Hack: Bathroom Power

Electric toothbrush and electric razor plugged into two wall sockets, with a USB charger nearby, unable to plug in.

Is it weird to want more power sockets in the bathroom? I think not.

It's the twenty-first century. Between my wife's gadgets and my own, we usually have three or four devices fighting for the two sockets in the bathroom. Well, that changes tonight.

Preparation

I happened to be in K-Mart today, and I picked up a simple six-socket power strip. Nothing fancy. Notably, it does have surge protection, which I figured was wise given that it'll be in the bathroom (I'm not really concerned about getting zapped if an accident occurs, though, because the wall socket itself has surge protection circuitry).

Six-socket power strip.
But key to this endeavor: The strip has two screw collars on the back. Bingo.

The back of the power strip, showing the two screw collars.
Honestly, the hard part was finding the screws to fit those collars. I have several screws of various sizes, but those collars have extremely tight tolerance. I needed a shallow head and pretty narrow shaft. I had to paw around for awhile in my screw box, but I finally found two that fit the bill.

Ten-minute Hack

This is an easy one. I slid the screws into the collars, positioned the power strip where I wanted it, and wiggled it around a bit to etch the screw tips into the wood. Now, I just have to whip out my trusty DeWALT and...
The gap between the wall and the sink cabinet. It's only eight inches.
... oops. Hard to tell in the photo, but that's only eight inches of clearance.

Okay! Quick change of tools: Papa Tomczak ages ago gifted me with a spare screwdriver, intended for computer repair. Turns out, it's just the right length and torque to fit this project, if I add a liberal amount of elbow grease.

T-handle screwdriver. Designed for computer work, but it's high-torque and short, perfect for this project.
In point of fact, I needed a lot of elbow grease. The side of the sink cabinet is some kind of pressed particle board, and it took some "oomph" to cut through the outer layer. Once I could get the screws to bite, though, they went in easy.

Then it was just a bit more elbow grease to get the collars to set back on the screws and...


Power strip mounted horizontally to the side of the sink cabinet, under the basin.

Now all of the bathroom's little electronic residents have a home. 

Final Thoughts

I might use some more velcro ties to pretty-up the loose wire between the power strip and the wall socket, but I'm overall pleased with the outcome.

Three devices plugged into the power strip: electric toothbrush, electric razor, and cellphone.

Saturday, October 20, 2012

Ten-minute Hack: Controlling the Wire Monster

It should be no big surprise that I have more than one loose wire running around the dashboard of my car. I actually have three: two USB micro cables to charge my cellphone and earpiece, and a stereo headphone cable to plug the phone into the AUX jack of my car (memo to self: next car... USB audio in or bust). These wires are not only unsightly, they're a snagging hazard with the cup-holders underneath them and a dog frequently in the car. It's neither fun nor safe to have your cellphone yanked into your lap by its charging cable while you're going at 45 MPH because your dog wanted to put a friendly paw on your hip to say "Hello."

I've been putting up with this rat-nest for awhile, but I finally decided this weekend to stop putting and start hacking. I put together a simple hack to tame the wire-beast on my dashboard. Excluding planning and part procurement, it took no more than ten minutes. Here's how it went down.

Preparation

As a first-pass solution, I grabbed some velcro ties (tip from Momma Tomczak: never run out of velcro ties) and gathered the wires into one coil. That was already an 80% solution, but I didn't like the idea of supporting the weight of the wires solely by their sockets (the audio wire in particular; I'm on my third one of those because they keep breaking from too much pressure at the point of contact into the radio).

Taking a look under my console, I learned that I was in luck: screws! Thank you, 2000 Honda Civic!
Camera shot of the under-side of the car console, showing two screws.

Taking a quick trip down to Lowe's, I browsed the hardware aisle for a few minutes and found my new favorite area: the hobby parts drawers (which are basically "Replacement parts for your Erector set"). I fished around and settled upon these little beauties: ⅜" Natural Nylon Clamps. Picked them up for a little over a buck and headed home.


Plastic bag containing Hillman nylon clamps.A single Hillman nylon clamp, showing its R-shape.

Ten-Minute Hack

There wasn't quite enough room to get the electric drill in between the cup-holders, gearshift, and lower console, so I settled for a manual screwdriver (actually, I, uh, manually used the screwdriver drill bit from my DeWalt drill... Don't tell my high-school mentors). I slipped the nylon clamps in between the screws and the console, and screwed them down until they felt solid. It should hold (which comes from the same engineering lexicon as the software test theory of "It Probably Works," but hey, ten minutes spent). Rather than thread the wires through the clamps, I threaded the velcro ties through the clamps to make it easy to swap out or rearrange the wires.

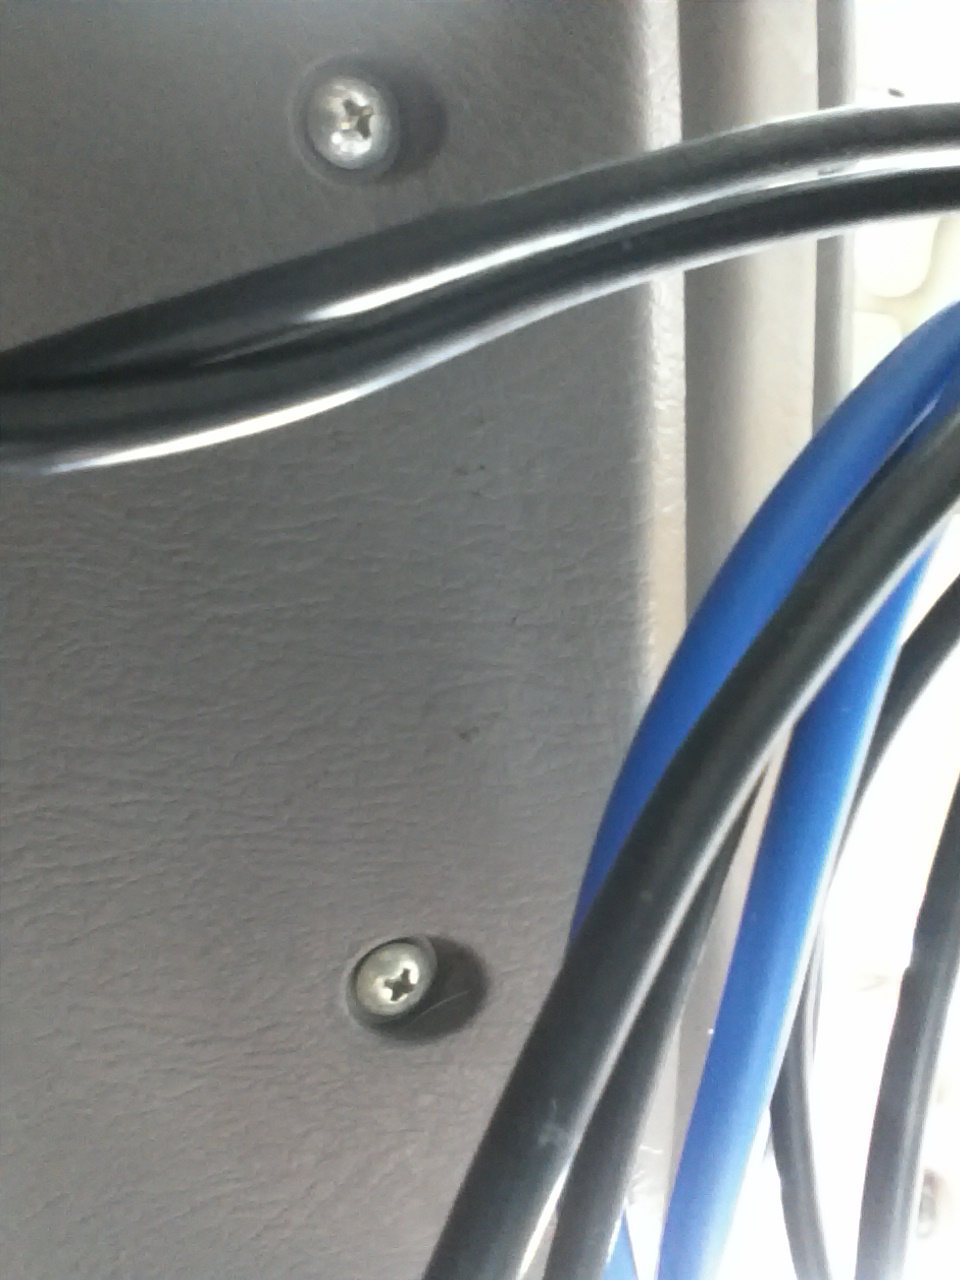
The wire harness installed, suspended from the nylon clamps. Underside-console view.The wire harness installed, suspended from the nylon clamps. Front-console view.

Final Thoughts

I'm pretty happy with how this turned out. Minimally-invasive, and it's really cleaned up the problem. There's a bit more slack in the cable leading to the AUX jack than I'd like, but the way to fix that is to find a right-angle headphone jack plug so I'm not extending an inch out of the radio unnecessarily. I'm confident that this solution should clean up my snagging issues.

One minor issue remaining is that when nothing is plugged into the charger or stereo cables, they don't stay in the cupboard easily and have a tendency to dangle. I may get a stick-on wire holder to affix to the left lower side of the console to stow those when they aren't in use, but that's a minor issue compared to having wires snake around my cup-holders continuously.

Yay, ten-minute hacks!
Completed project: Wires nicely stowed, and the wire harness sitting comfortably under the console.