Taking a short break from talking about Boardgame.io for a project I took on this weekend.
My wife is in a play this holiday season, and one of the plot points is a kid struggling with a science fair project getting a little help from the main character. I went ahead and did some prop work for the before-and-after on the project, and I'm pretty happy with how it turned out.
Preparation
Amanda sourced several STEM kits from Sntieecr for raw materials so we could make the prop dynamic. They were pretty good, but they don't include any structural elements. I had a few yard stakes in the basement that I figured had enough bulk to serve. When it comes to woodworking, I'm absolutely amateur; I don't even have a jigsaw or a workbench. But I was able to jury-rig a bench with random stuff in the basement, and with some grunting with a saw I was able to segment a few yard stakes into 8" and 10" lengths.
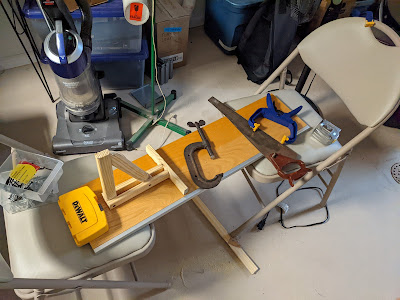 |
| Literal basement-tier work |
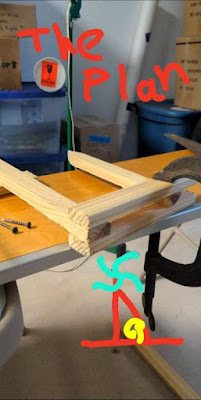
I figured I could make a sufficiently-sturdy shape with a 3-4-5 right triangle and a cross span to keep the whole thing from tipping over. Yes, my understanding of mechanical stability pretty much tops out at this.
The work
One thing I was concerned about was that without a jigsaw, cutting an angle into the top of the diagonal was going to be a real chore. Then I remembered that since I was using yard stakes, the original manufacturer had tapered the end for me. Thanks, industrial manufacturing!
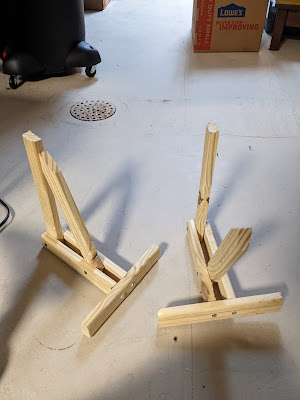
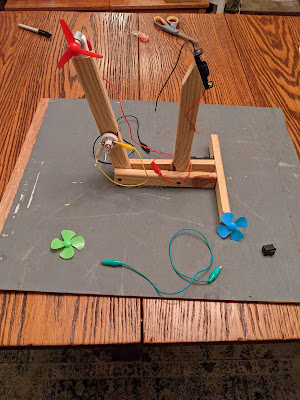
With a "before" and "after" truss finished, I was ready to put the STEM kit on them.
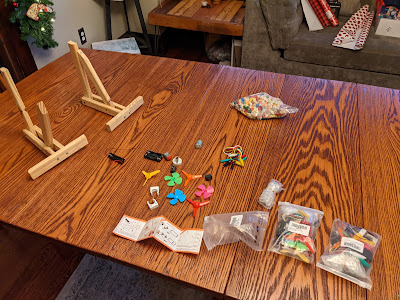
Here I hit a small snag: after affixing one of the light bulb sockets, it came apart when I screwed the light bulb in! It turns out the whole affair (socket threading, anode terminal, cathode terminal, and a paper insulator between) was held together with a single screw, and it had shipped loose; screwing the lightbulb in unscrewed te screw and dropped all the parts out of the socket. Once I figured out what had gone wrong, it was pretty straightforward to put together.
The kit worked great once assembled, and I was excited to see it in action.
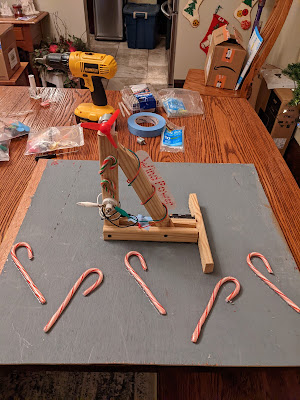
The last step was to bond the gadgets to a base board for easy transport, I was worried about a screw sunk into the stakes on the thin side splitting the stakes. So I used hot glue. A lot of hot glue.
 |
| There are problems hot glue cannot solve. Someday I'll meet one. |
The result
Overall, I think they turned out okay! I hope they're robust enough for handling during the show, but I think they'll be fun!
No comments:
Post a Comment