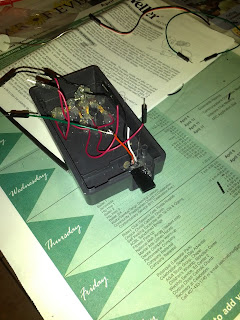
My IR LED of choice is a 940nm LED that I picked up from Radio Shack. I used a basically direct connection to one of the digital output ports on the Arduino. The only complexity of this part is the desire to make the IR trasmitter pretty mobile; I need to be able to position the receiver and transmitter separately from each other so I don't need to put a table in front of the TV to hold the enclosure. Since the LED is external to the enclosure and positionable, I grabbed some male-female servo extension cables from Amazon. I snipped one in half and glued the male end to the enclosure, making an external-facing plug.
I then did away with the white wire (leaving only two channels) and soldered the black wire to the common ground used by the LEDs (the red wire gets a breadboard jumper wire and connected to digital port 13.
The LED side of the wiring is simpler. Cutting the male plug off of another servo extender and stripping out its white wire, I soldered the IR LED onto the remaining wires and added a bit of shrink tubing to clean everything up.
The final software package is available on Github. It's readily configurable for details, but its default configuration is as follows:
- Listen for a signal from my remote (I happen to have a spare "blue button" that works just great).
- When the signal is recognized, blink twice and begin a half-hour countdown.
- At end of countdown, fire the off signal and go back to listenening for input.
Overall, this has been a pretty educational project. In the future, I'll try and add the Ethernet shield so that I can wire computer control into the entertainment system.


No comments:
Post a Comment