
Overall, I'd say this project turned out pretty well. The directions on Instructables were very straight-forward. The only part I had to wing a bit was drilling the hole for the lens; I ended up using a 1/4" bit and "wiggling" a bit to enlarge the hole. Even still, the lens was a very tight fit, and it didn't fit quite flat. But it seems to have fit flat enough to give me good images.
One issue I encountered with the final construct was that I couldn't get the stage as close to the lens as it wanted to be to make focusing easy. I removed some washers, but still had issue. The easiest solution turned out to be simply stacking two blank slides

Of course, once I got the thing assembled, it was time to try it out! :) I found a pretty inexpensive set of sample slides from Elenco and gave them a look!

My favorite thing about this rig is that the smartphone camera is so straightforward to operate; electronic zoom, auto focus. And of course, capturing images with the built-in camera couldn't be more straightforward!


Microfilm reference slides
 |
| Bird feather |
 |
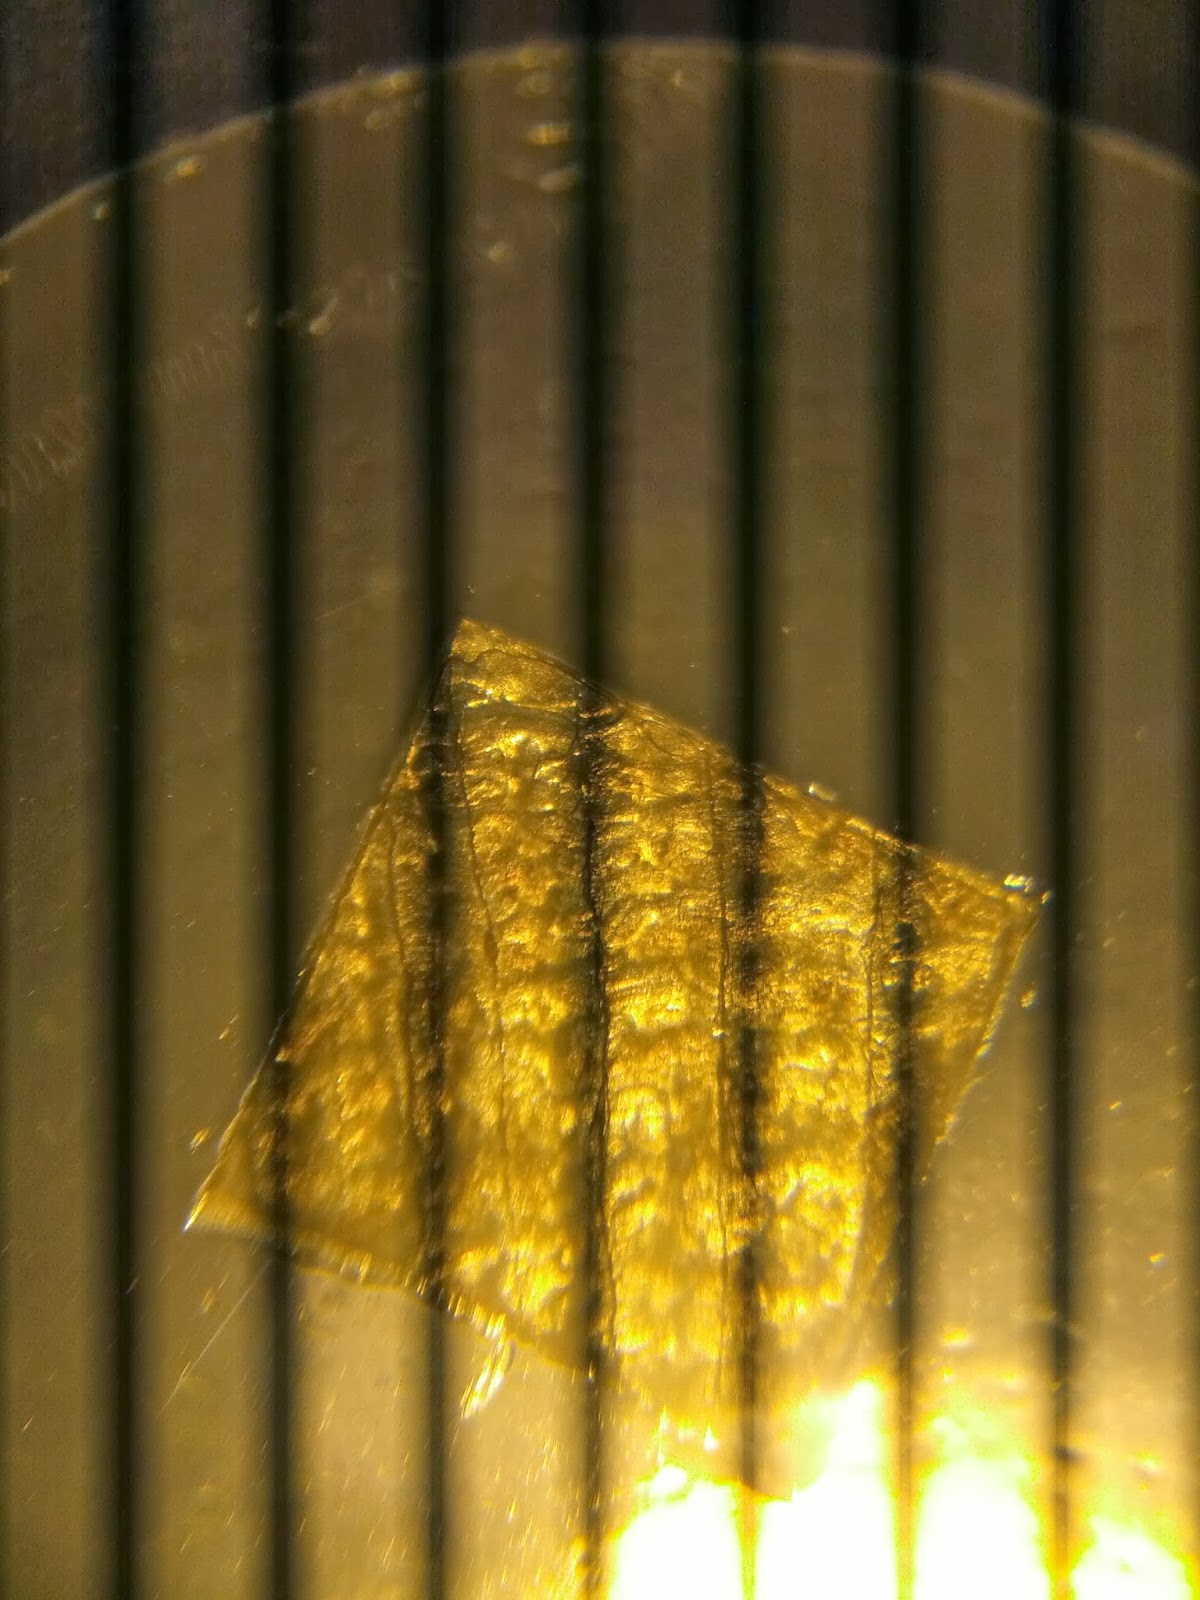
| Nylon fiber |


Grasshopper wing
 |
| Grasshopper leg |
 |
| GENTLEMEN, BEHOLD! CORN(starch)! |


Fish scale
 |
| I tried adding an LED touch-light as under-lighting for the stage, but it blew out the camera; this might work if I used some semi-translucent material to block the intensity. |
